Destructive Changes Using Workbench
These notes are a worked example based on a Salesforce help article, called Deleting Components from an Organization. The process is also described in this Salesforce StackExchange article and this SalesforceBen article.
- Create two files
destructiveChanges.xmlandpackage.xmland add content structured similarly to that shown below. - Select the two files just created, right-click, and
Send to > Compressed (zipped) folder. - Authenticate into Workbench (workbench.developerforce.com) and the specific Salesforce org you are deleting components from.
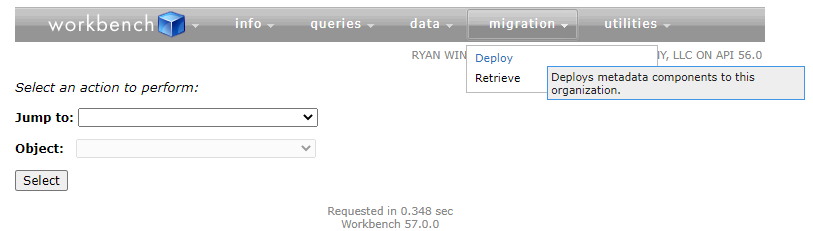
- In Workbench, navigate to migration > Deploy, and select the zipped folder.
- Select
Rollback on ErrorandSingle Package,RunSpecifiedTestsin the dropdown, and type the name of any test classes you are deleting into theRun Teststext box. - On the next page select
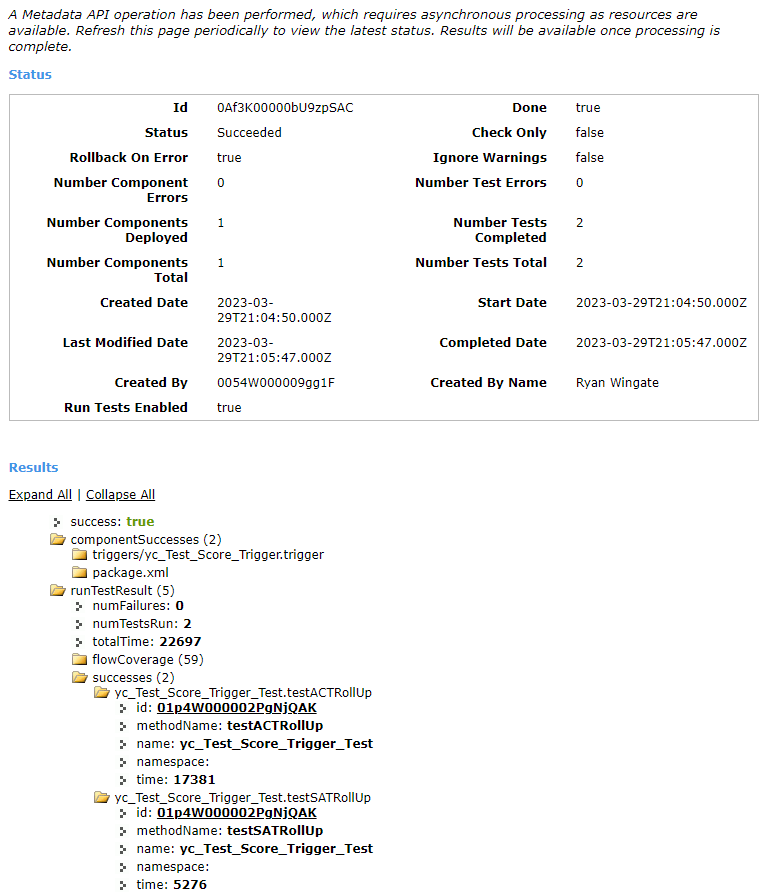
Deploy. - The process will take a few seconds. When complete, if successful, it will look like the screenshot below.
Step 1:
destructiveChanges.xml
<?xml version="1.0" encoding="UTF-8"?>
<package xmlns=http://soap.sforce.com/2006/04/metadata>
    <types>
        <members>yc_Test_Score_Trigger</members>
        <name>ApexTrigger</name>
    </types>
    <types>
        <members>yc_Test_Score_Trigger_Handler</members>
        <members>yc_Test_Score_Trigger_Test</members>
        <name>ApexClass</name>
    </types>
</package>
package.xml
<?xml version="1.0" encoding="UTF-8"?>
<package xmlns=http://soap.sforce.com/2006/04/metadata>
     <version>56.0</version>
</package>
Step 4:
Step 5:

Step 6:

Step 7: